Creating Website Handover Videos
When handing over a site to a client, a nice way to remind them of how to use their new CMS is to provide them with a little video walking them through the system. Here at Perch we create a lot of video using inexpensive tools. In this post I’ll show you how we do it.
Software
We record our video using Screenflow. This tool records your screen, as well as your voice, and you can even merge in a video camera stream. Screenflow also has editing tools.
A similar tool is Camtasia, which is available for Windows and Mac. Both of these have trial versions available so you can take a look and see which you prefer.
Hardware
You’ll need a microphone to record the voiceover, don’t rely on your inbuilt mic. There are some excellent options at a range of prices. If you end up doing a lot of screencasts I’d suggest using a headset mic, this means that the mic will always be the same distance from your mouth as you move your head when typing or looking at a script. However to get a good quality mic these are more expensive than a good quality mic on a stand, as you are paying for high quality headphones too. I use these which are excellent, but not cheap!
For a less expensive option look at some of the mics suggested for podcasting.
Setup
There are a few things to do before you hit record.
Your script
I would highly recommend you script your walkthrough, or at least have step by step notes. This makes it far quicker to record and edit as you’ll have fewer mistakes to edit out. I then load up my scripts on my iPad to refer to as I record – you can see my setup in this photo.

Go through the steps and write down what you will say for each step, and perhaps add a note for any specific action you need to do at that time.
Screen resolution
Record your video at a lower screen resolution than you usually use. I have a separate “Video User” on my Mac which is set up for recording video. I have my screen resolution set to 1280×720 in my iMac – it looks a bit odd to work with but when the video is output it looks nice and clear.
Get your tools in order
It might sound obvious but you should log in to the CMS as a user with the same privileges as your client, so what they see in the video is exactly the same as when they log in.
If you are going to demonstrate how to publish images or upload files, make sure you have these available in a simple location – I usually just pop them in a folder on the desktop.
Speaking of your desktop, remove anything on there that is lying around, and set a neutral background colour. This is another reason why a separate video user account is handy. Also switch off notifications and close applications you are not using for the demo.
Turn off things that might make a noise in your environment. Put your phone in another room, switch off your printer, and tell anyone else around you that you are going to record.
Do a test for sound and play it back to make sure that the mic you expect is being used for sound and that there aren’t any hisses or other noises being picked up.
Recording
I’ve tried doing this in many different ways and have found that the best thing to do, creating the most natural result, is to record both your actions on the screen and your voice at the same time. So just talk your way through it as you would if showing your client in person.
If you make a mistake or want to redo a section, pause and say MISTAKE loudly (it will show up in the audio track more clearly) then pause and start over. You don’t need to redo the whole video.
When you are talking and not doing an action, take your hand off the mouse or trackpad so the pointer stays still and doesn’t wave around. It’s distracting and also makes it hard to edit the video later, as if you chop out a section the pointer will appear to jump.
Leave a pause at the beginning and end of the video. You can always trim it afterwards.
If you have a moment of panic and can’t remember what to do next, just pause, clear your mind and carry on. You’ve got the edit to sort those things out. You’ll find after recording a few videos this becomes far easier and you’ll have fewer pauses and mistakes.
Short videos seem more natural when done in one take. For longer ones – even if you are going to stitch them together as one piece – recording in sections may be easier. If you have a lot to show your client it may be better to keep the videos short and cover one area at a time. Then hand over a few videos to cover the various aspects of the site.
Just speak normally, exactly as if you were describing this in person to your client.
Editing
Now you have a raw video file, you need to do your edit. Whether you are using Screenflow or Camtasia you should end up with two tracks – the video and audio. The things you will want to edit are:
- cut out any mistakes
- cut out long pauses
- speed up any lengthy sections of typing
- record and add in any new section of audio or video if needed
- add top and tail graphics (as a finishing touch)
These video editing packages usually include ways for you to zoom in on elements, or draw on the screen and highlight areas. If you have the time, or are able to make a video that’s reusable for several clients, then you might like to add these touches. However a clearly recorded video of your screen is absolutely acceptable.
Mistakes and pauses
These are usually easy to deal with. Locate any part of the track where you said MISTAKE, select both tracks and cut the tracks. Then advance to the point at which you restarted, select both tracks and cut them. Then shift the second section along so it joins with the first for both tracks. If you play the video it should now seamlessly play over the join.
You can spot areas of no talking easily on the audio track, so check those and see if there are areas where you didn’t do anything on screen too which can be cut out.
Speeding up typing
Especially as you are demoing a CMS, there may be sections where you do a lot of typing. This is pretty boring to watch and doesn’t help your client. Locate these sections – typically you’ll be able to find them by looking for sections with little spoken on the audio track. You don’t want to speed up sections of audio, unless you want to sound like Bugs Bunny! Select both tracks and cut at the beginning and end of the section you want to speed up. Then select only the video track and speed up the video – check the Help in your tool to see how to achieve this.

For typing I can usually speed up to 150 or even 200% without it looking too weird.
Your audio track will now be too long so cut out the areas with pauses until it matches the length of the video. This isn’t a precise art, you really just need to play around until the video and audio match up.
Now make sure your video and audio tracks line up again.
Adding new sections
As you watch your video you may realise that one section isn’t very clearly explained, or perhaps some noise happened in the room and you need to replace the audio.
This is where your script is handy as you can just add an additional recording, record screen and/or audio. Then back in the editor chop out the bit that is a problem and replace it with your new section.
Top and tail the video
For an extra touch you can add images or animation to top and tail the video – just as I do with our Perch videos. This can add an extra touch of professionalism and your company brand to the video you hand over. In Screenflow I use a cross dissolve to fade out a background image as the bird animations fly out.
For client handover video it might be helpful to add a title screen with what the video covers and the date, so they know when this video was recorded if changes are made to the CMS at a later time.
Export
Most screen casting packages have a variety of ways to export your video to give to your client. The choice you make here may depend on whether you are just going to send your client the video files or if you will host them on a webpage. Exporting as an MP4 is likely to be most useful, and you’ll find preset export types in video editing packages. If you are going to upload to a third party video hosting service then they will use give you guidelines as to the export format and settings – for example here are the details used by our video provider, Wistia.
You could build a Client area of your own site in Perch using our Members App, giving each Client their own area – and add their video there. You can specify in the Perch Settings an external URL for help pages, so these videos could feature there.
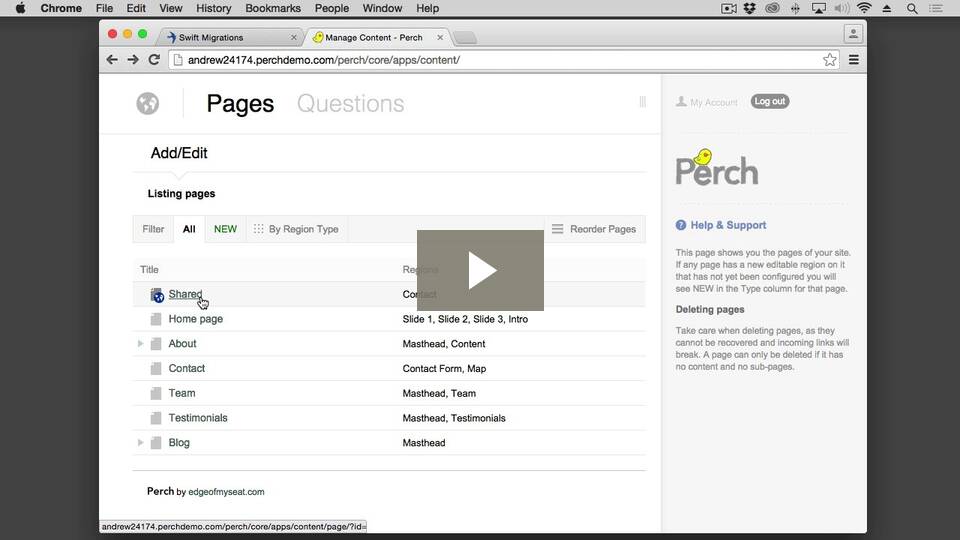
Your first few videos will be fairly time intensive as you get the process down, however you’ll find as time goes on you become far faster. You’ll make fewer mistakes and so edit time will be reduced. The video shown below is a walkthrough of one of our demo sites as if showing it to a client. It was recorded in one take, and the edit took about 10 minutes. It’s not perfect but would be useful.
If you’d like to see the unedited Screenflow document used to create my short video clip of one of our Perch demos, use the form below to sign up for the Perch newsletter – we’ll send you the document by return.